Disclosure: This post may contain affiliate links, which means we may receive a commission if you click a link and purchase something that we have recommended. Helping us to keep making cool tutorials and videos.

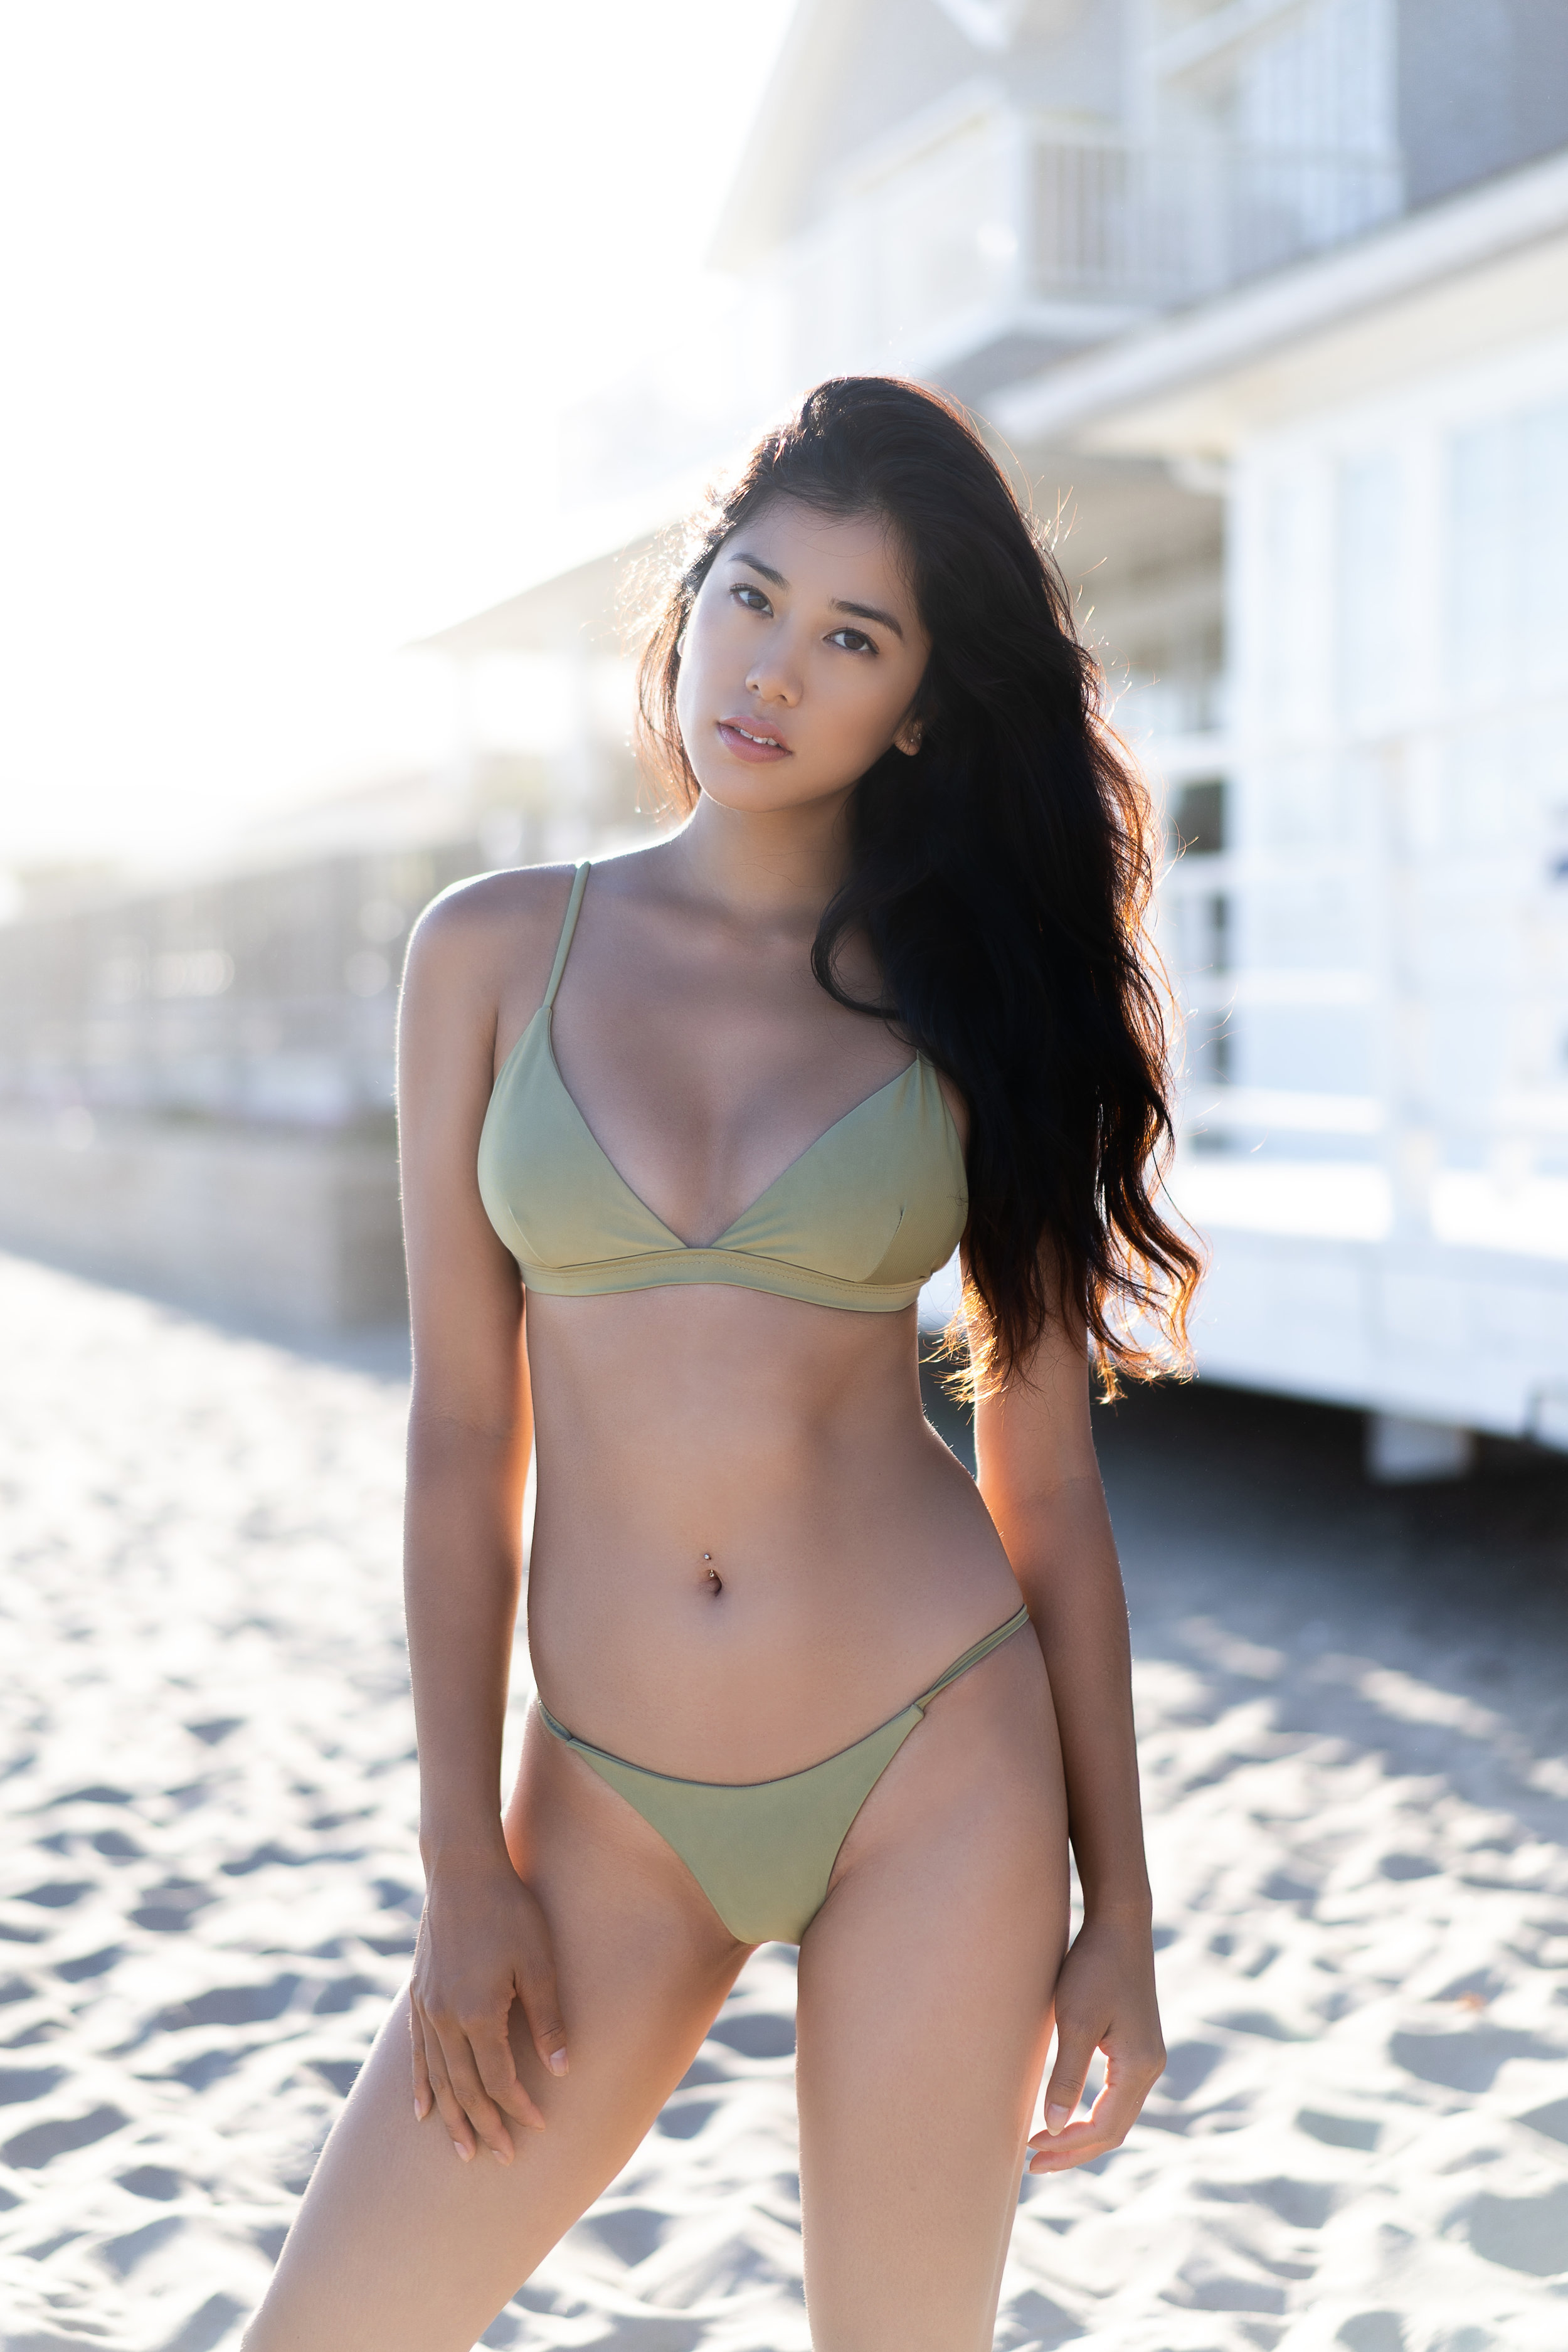
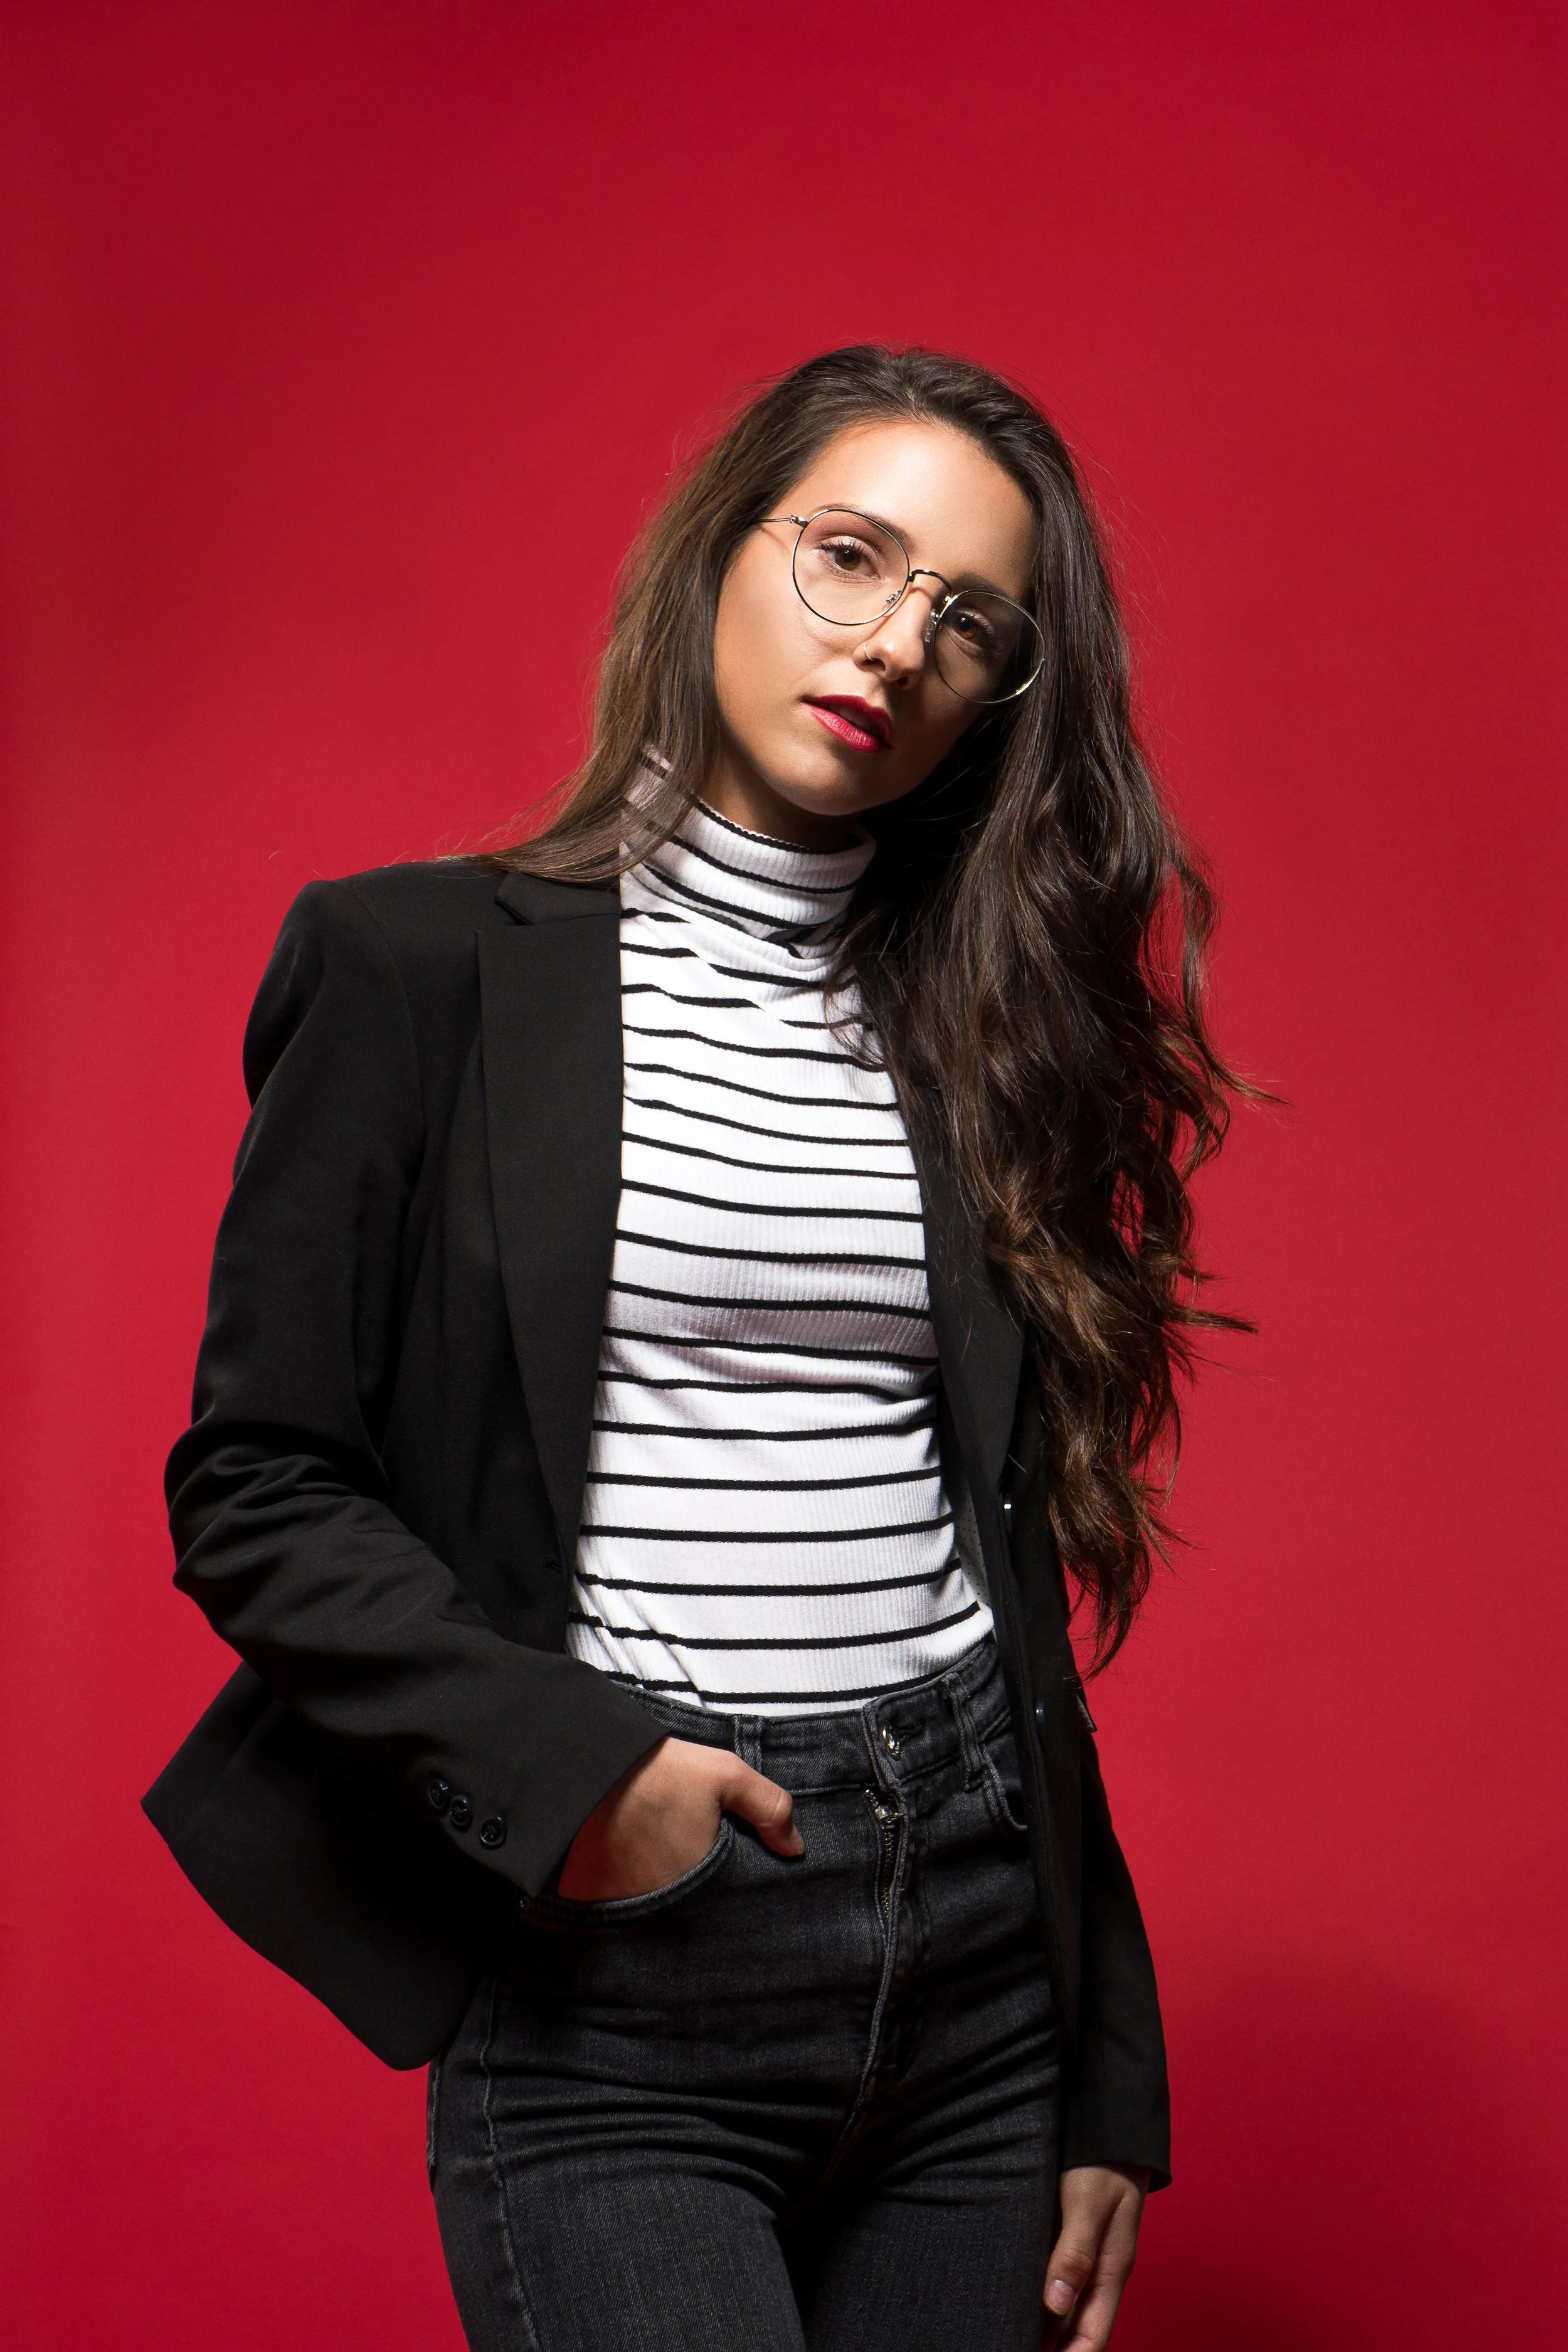
Raw image of model in front of white wall

Raw image of model in front of white wall
In Los Angeles, locations and studios can get expensive. If you’re a new photographer or a seasoned one it can get discouraging trying to find places to shoot. Especially when the clients don’t understand the value. I know that you get tired of going outside, but when it’s all you have, it’s better to shoot than not at all. We did a shoot with the Sony A7III with the Sony FE 24mm 1.4 G Master lens and used all free outside locations to capture images. All the photos in this post are raw images.
Here are the top tips in getting better backgrounds for your photos:
Textures
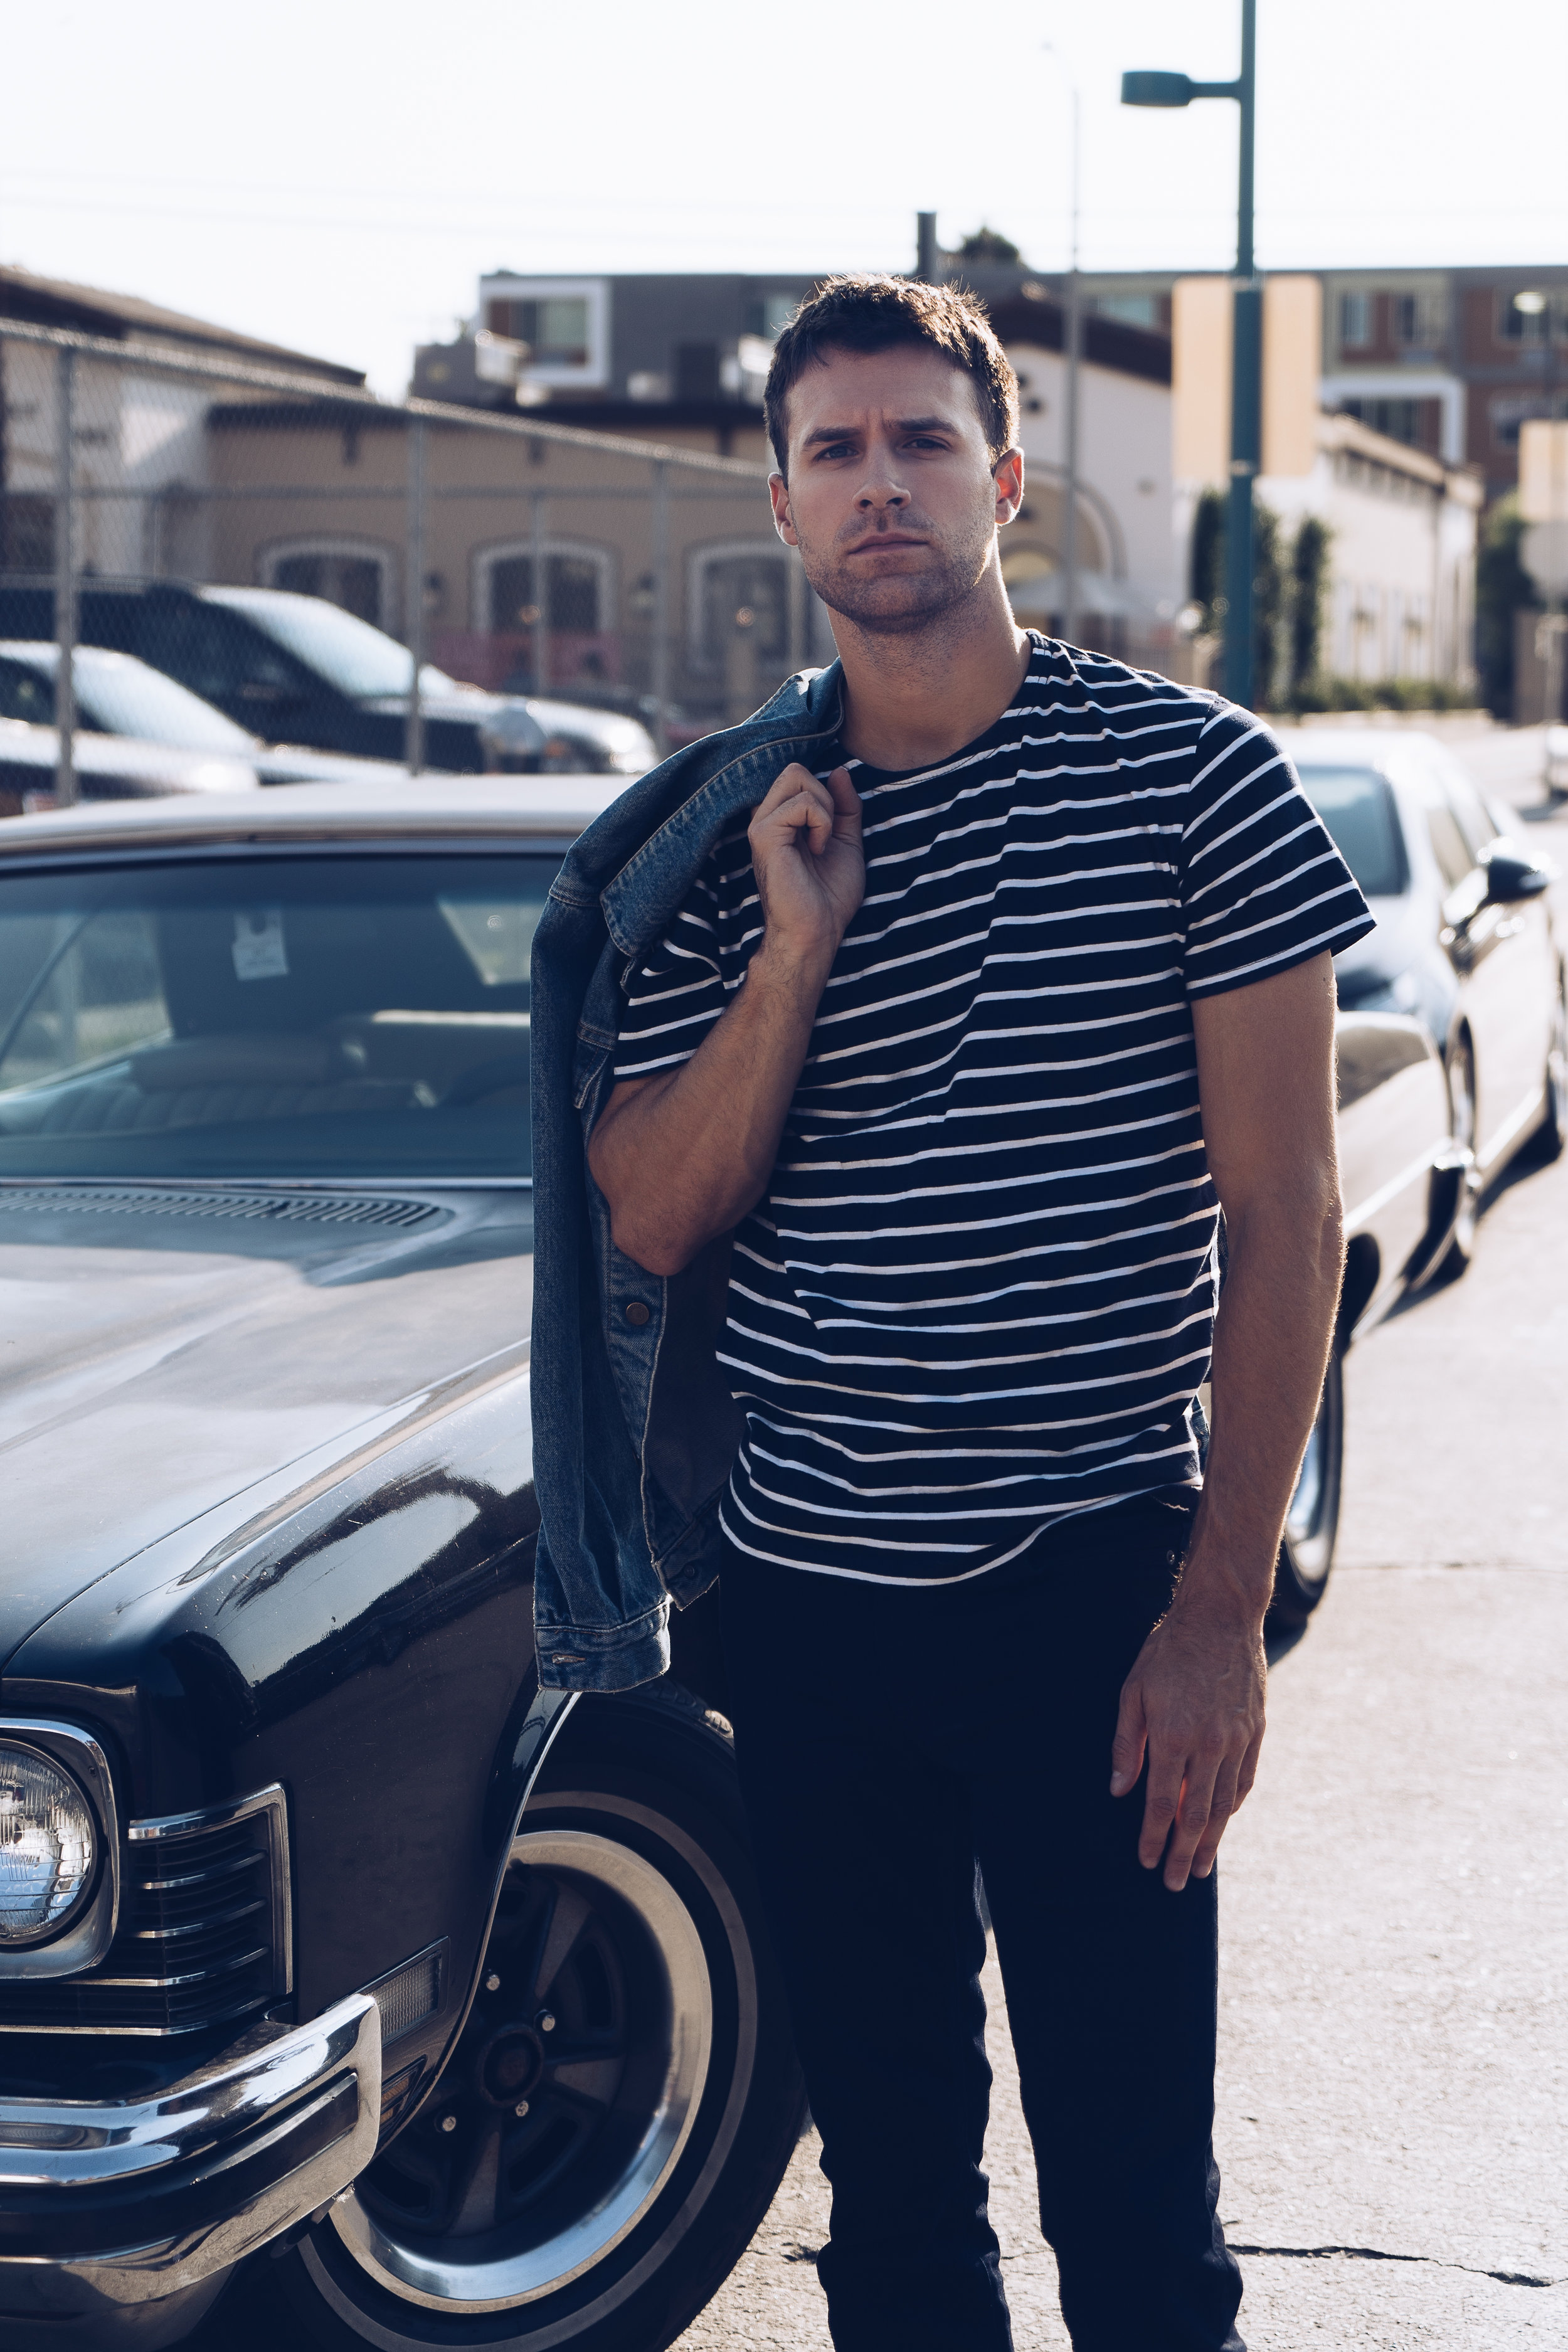
When looking for a place to shoot your model pay attention to colors and textures. See how it flows with the model’s wardrobe. Often you can find cool textures on walls and garage doors. What you’ll find is, you get a background that looks more stylized and less like you took a photo in front of a blank wall. For our shoot, we decided to add a bit of texture by placing a sheet on a couple of light stands. This brought a whimsical aesthetic to the images. When we moved it around it created a texture. You can do this with any fabric.
When walking around outside, don’t be afraid of ugly corners or the appearance of rust, wood, or concrete. If you play around with these areas you can often get cool photos. I always say, take the shot and if it doesn’t work move on. But sometimes these places will surprise you.

Raw image of model in front of sheet

Raw image of model in front of sheet
Lighting
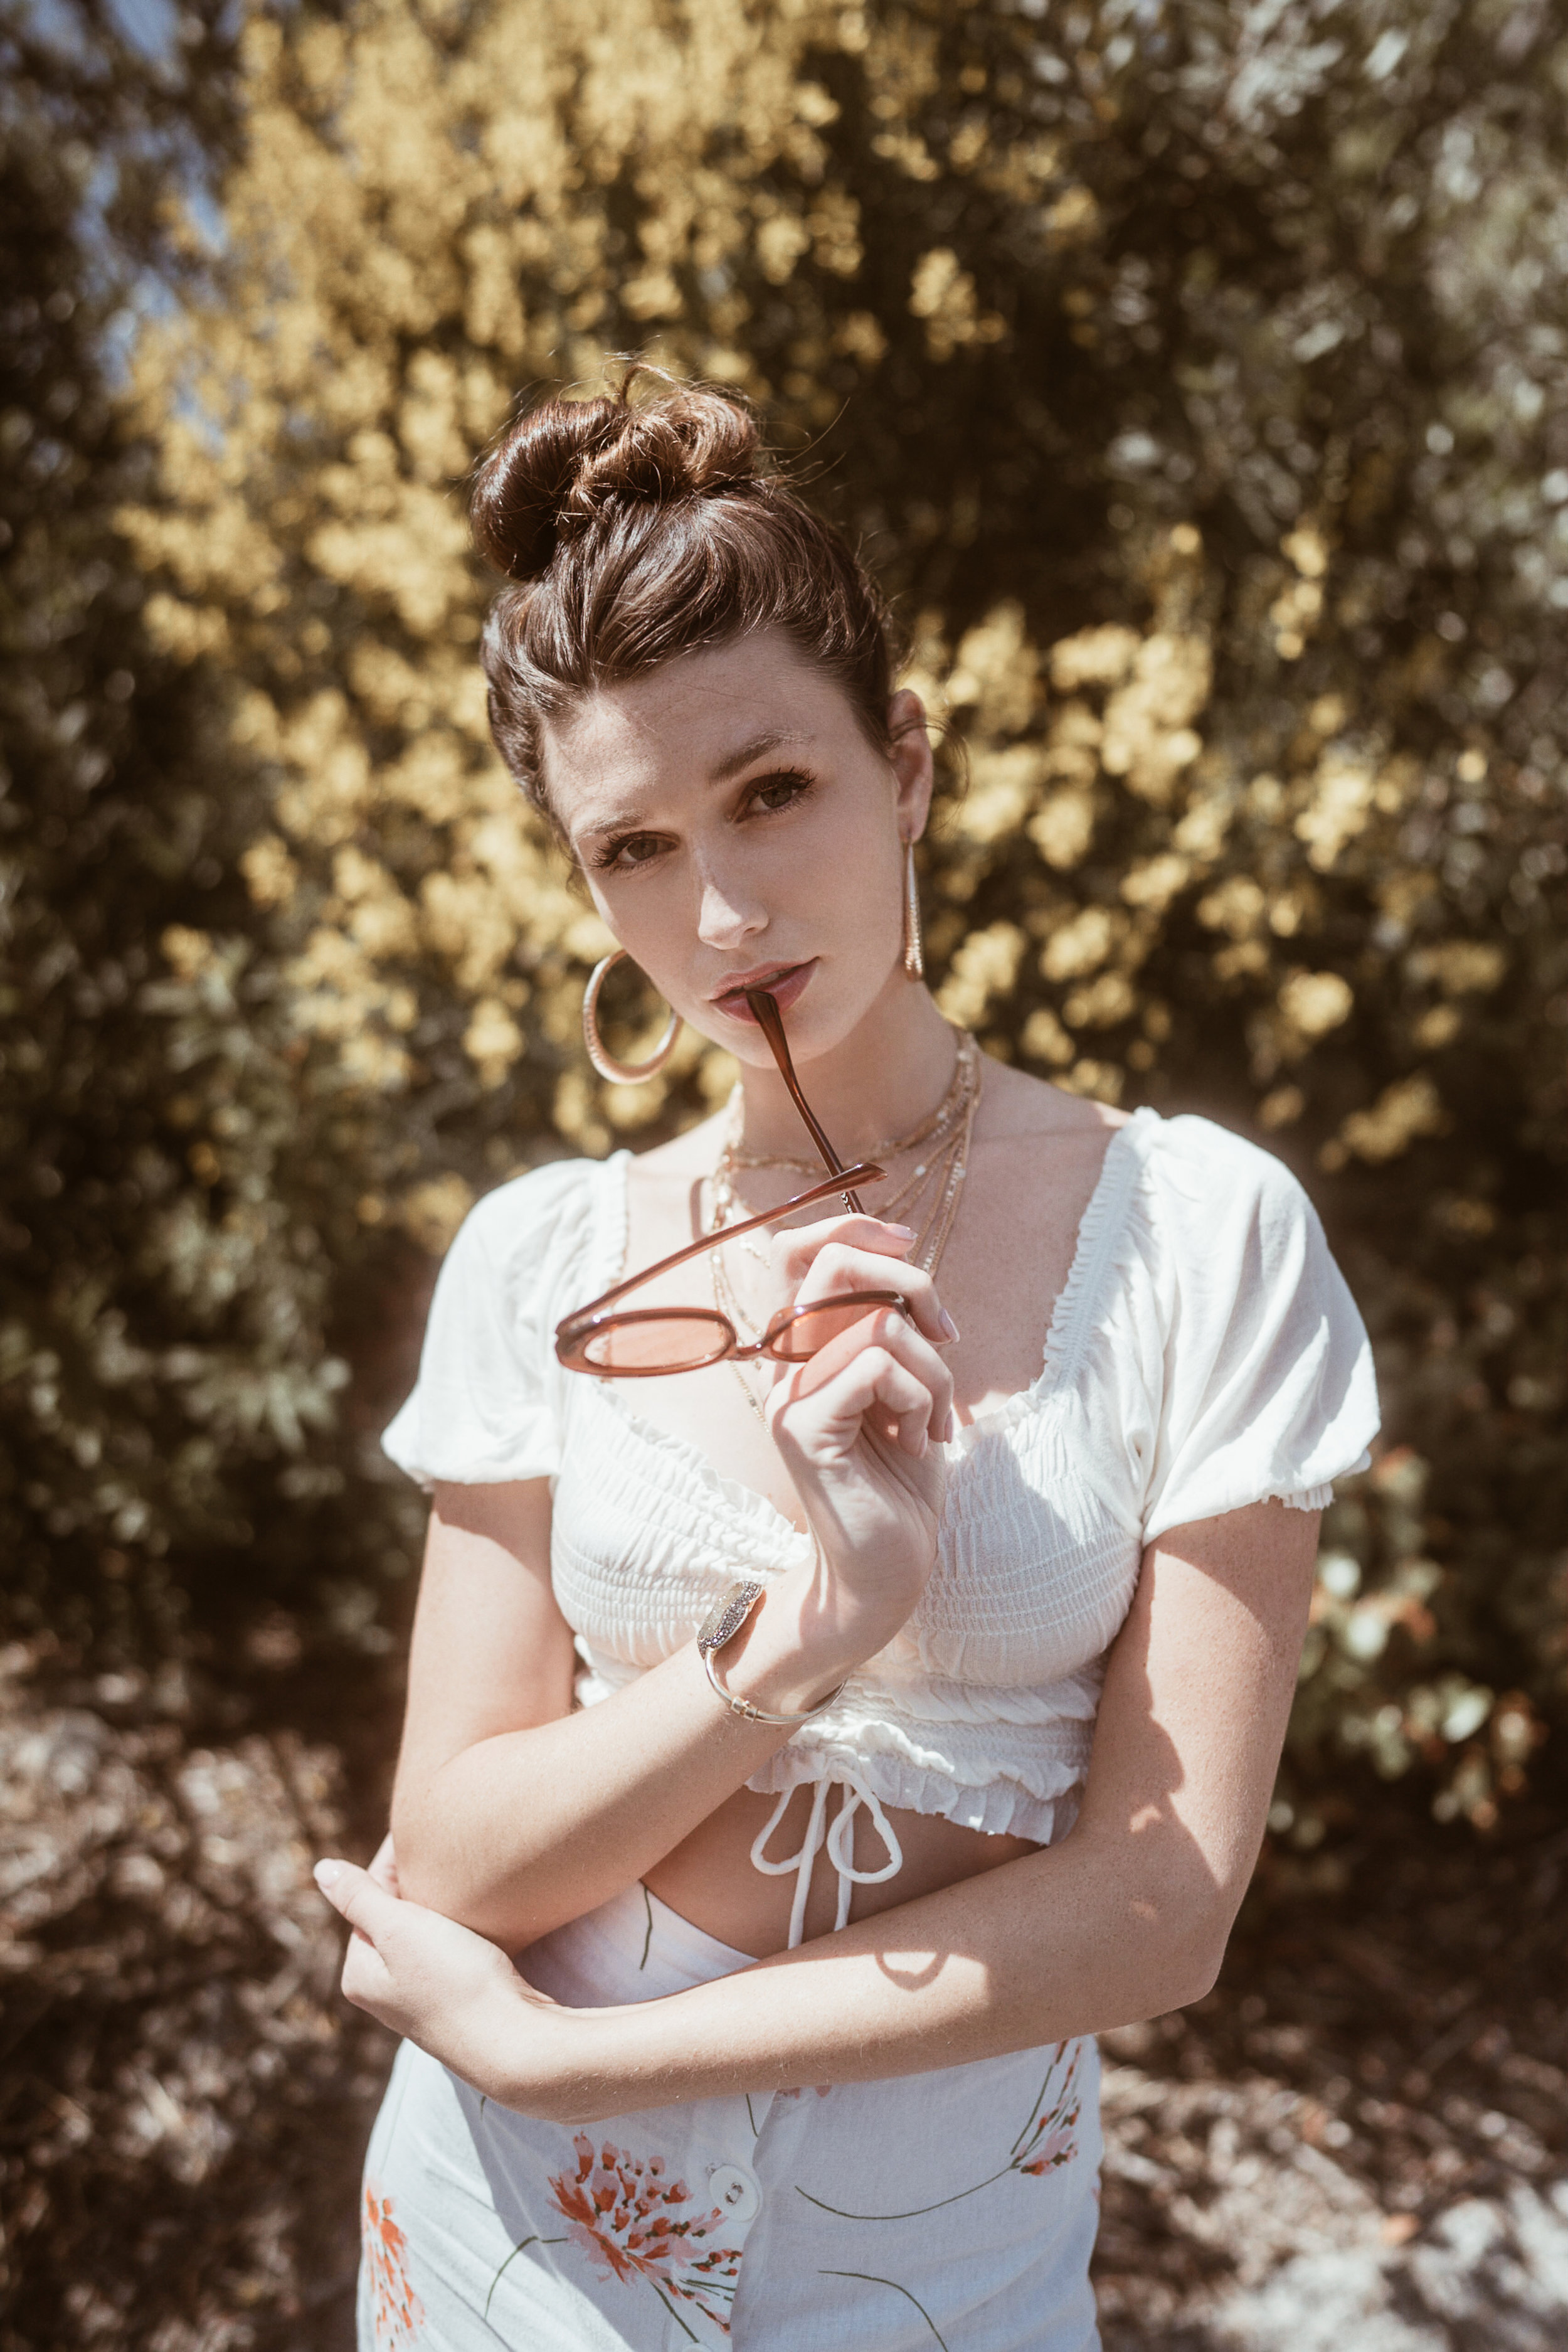
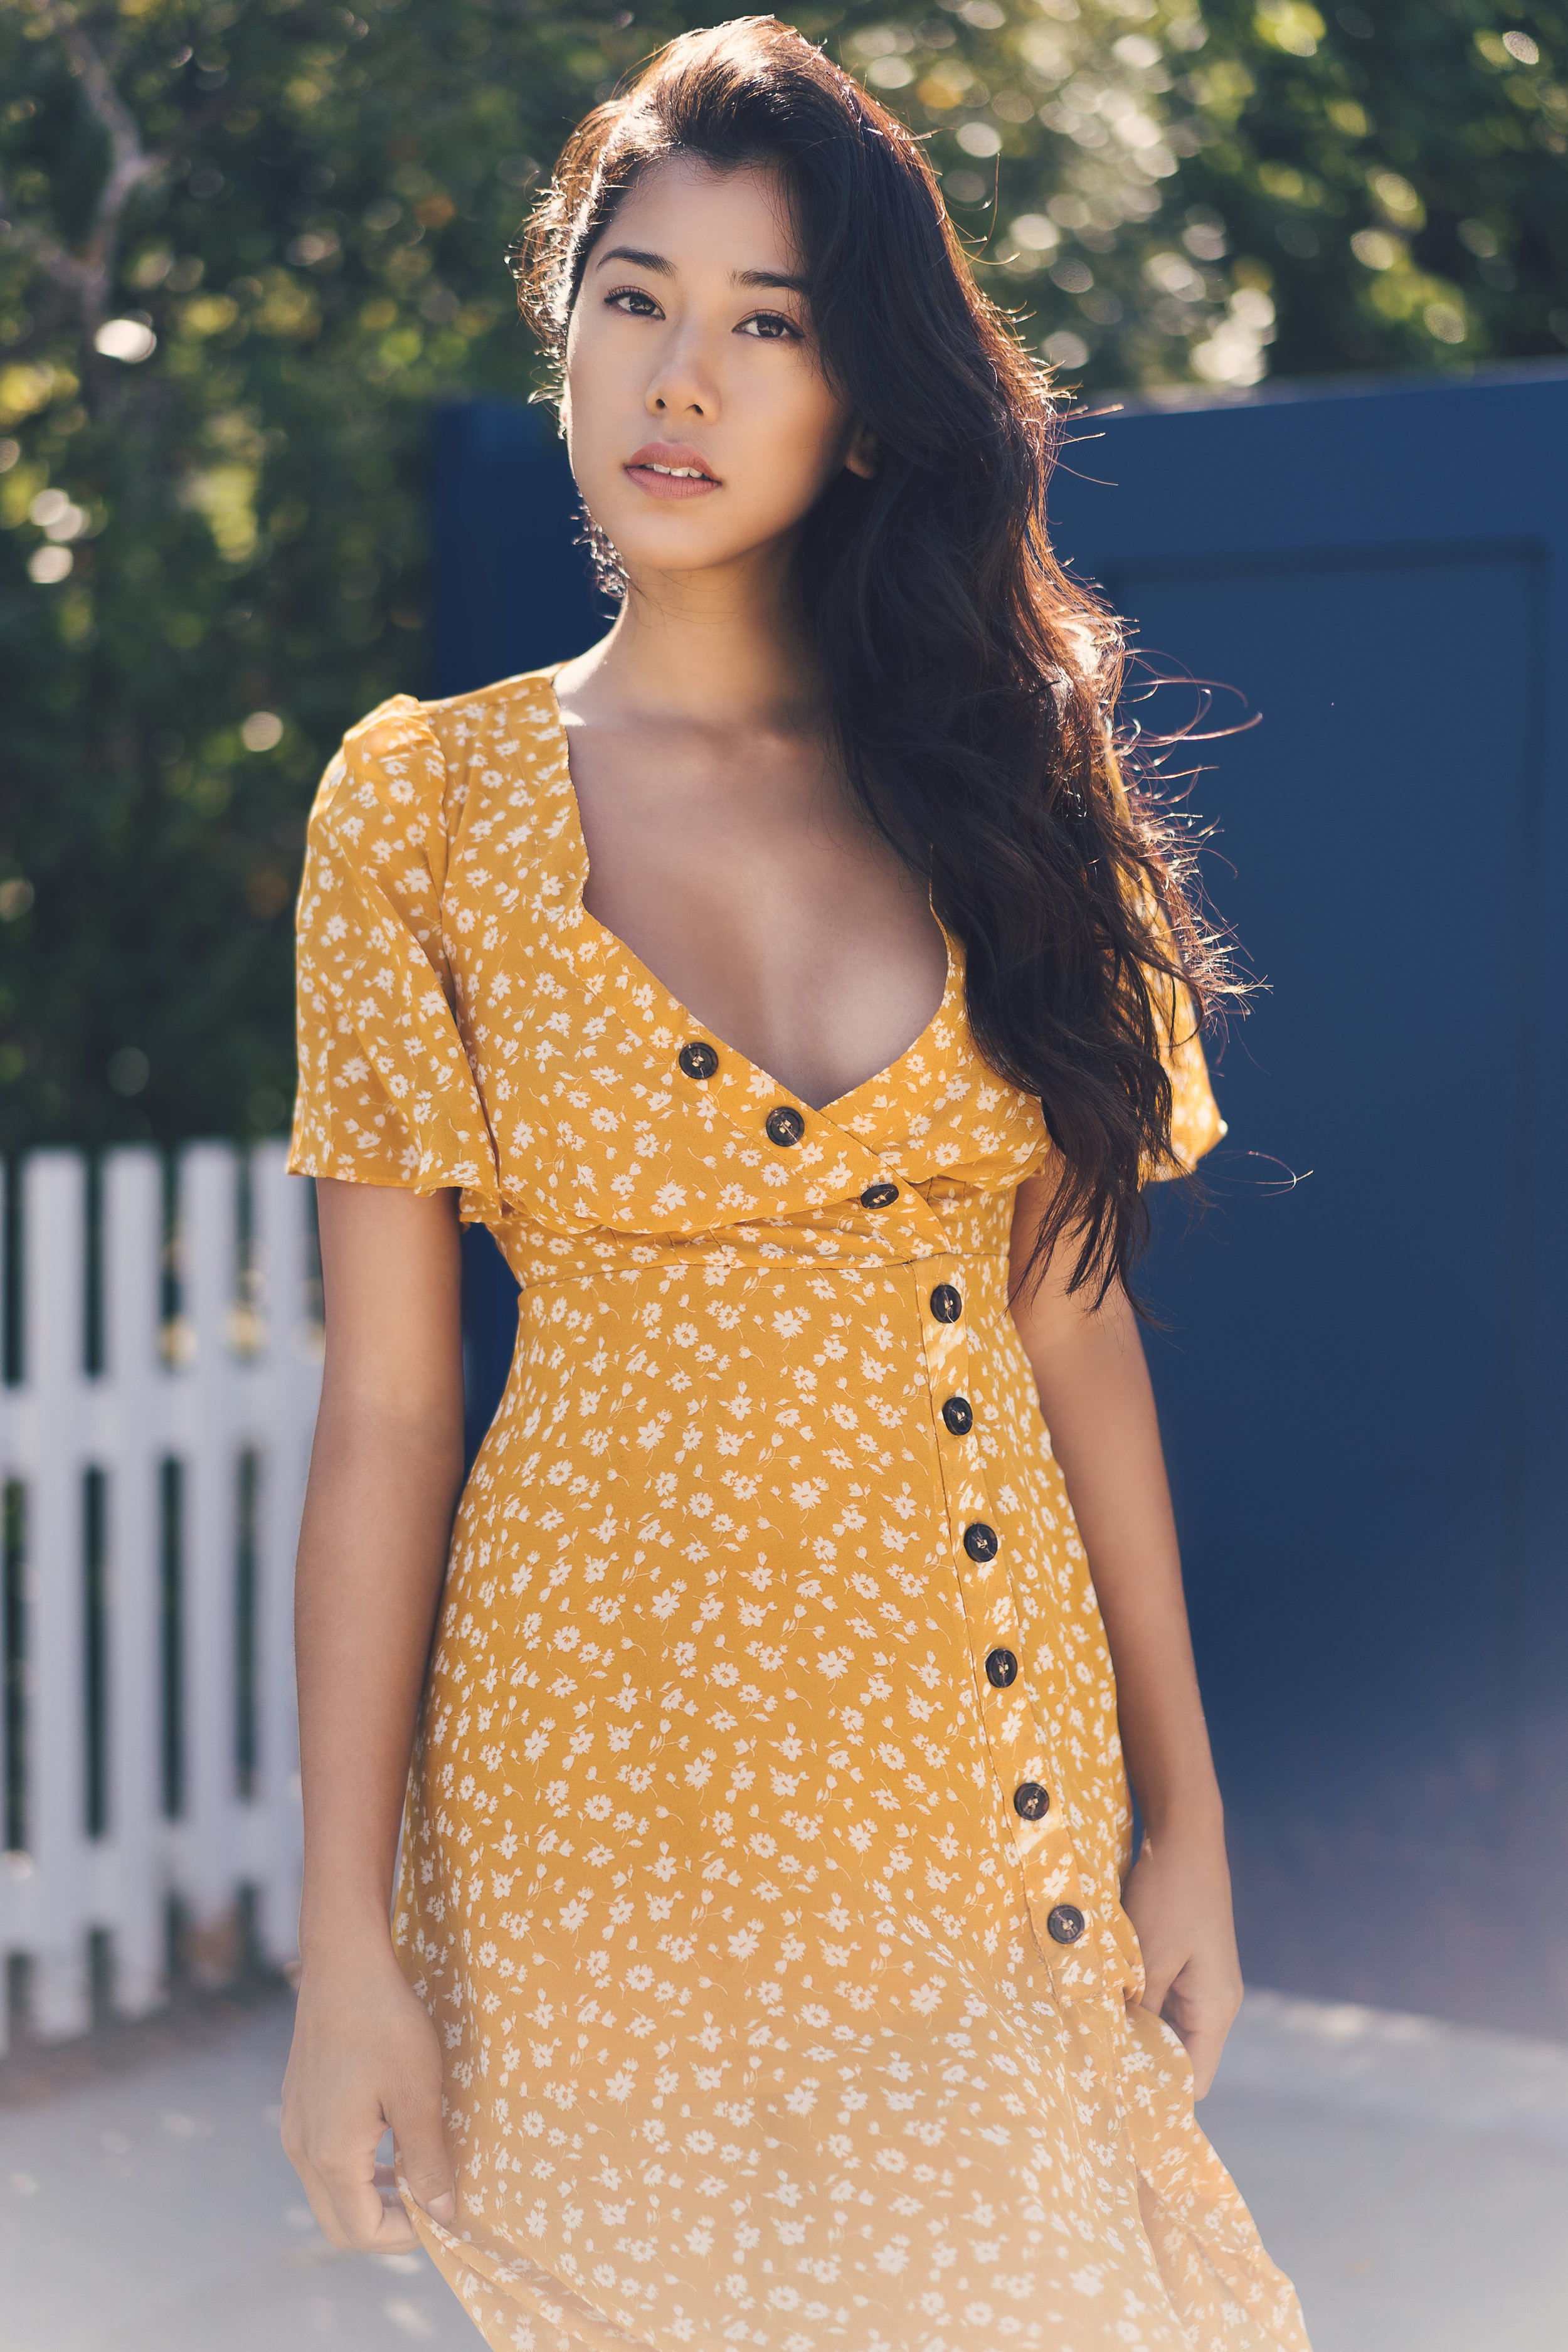
When working with your model think about lighting. As we’ve mentioned before you don’t always get the luxury of a golden hour or studio. When working outside watch how the light hits trees, walls, lamp posts. You can use shade to create cool angles in your shot. Slivers of light through trees can create cool shadows around your model. All photographers will shoot in harsh light sometimes. You can find soft light by placing models under a tree or in the shaded spot of a building. Pay attention to shadows to create composition and artistic choices for backgrounds.

Raw Image of model in a field next to bush.

Raw Image of model in nature sitting on tree stoop.
Interactive Backgrounds
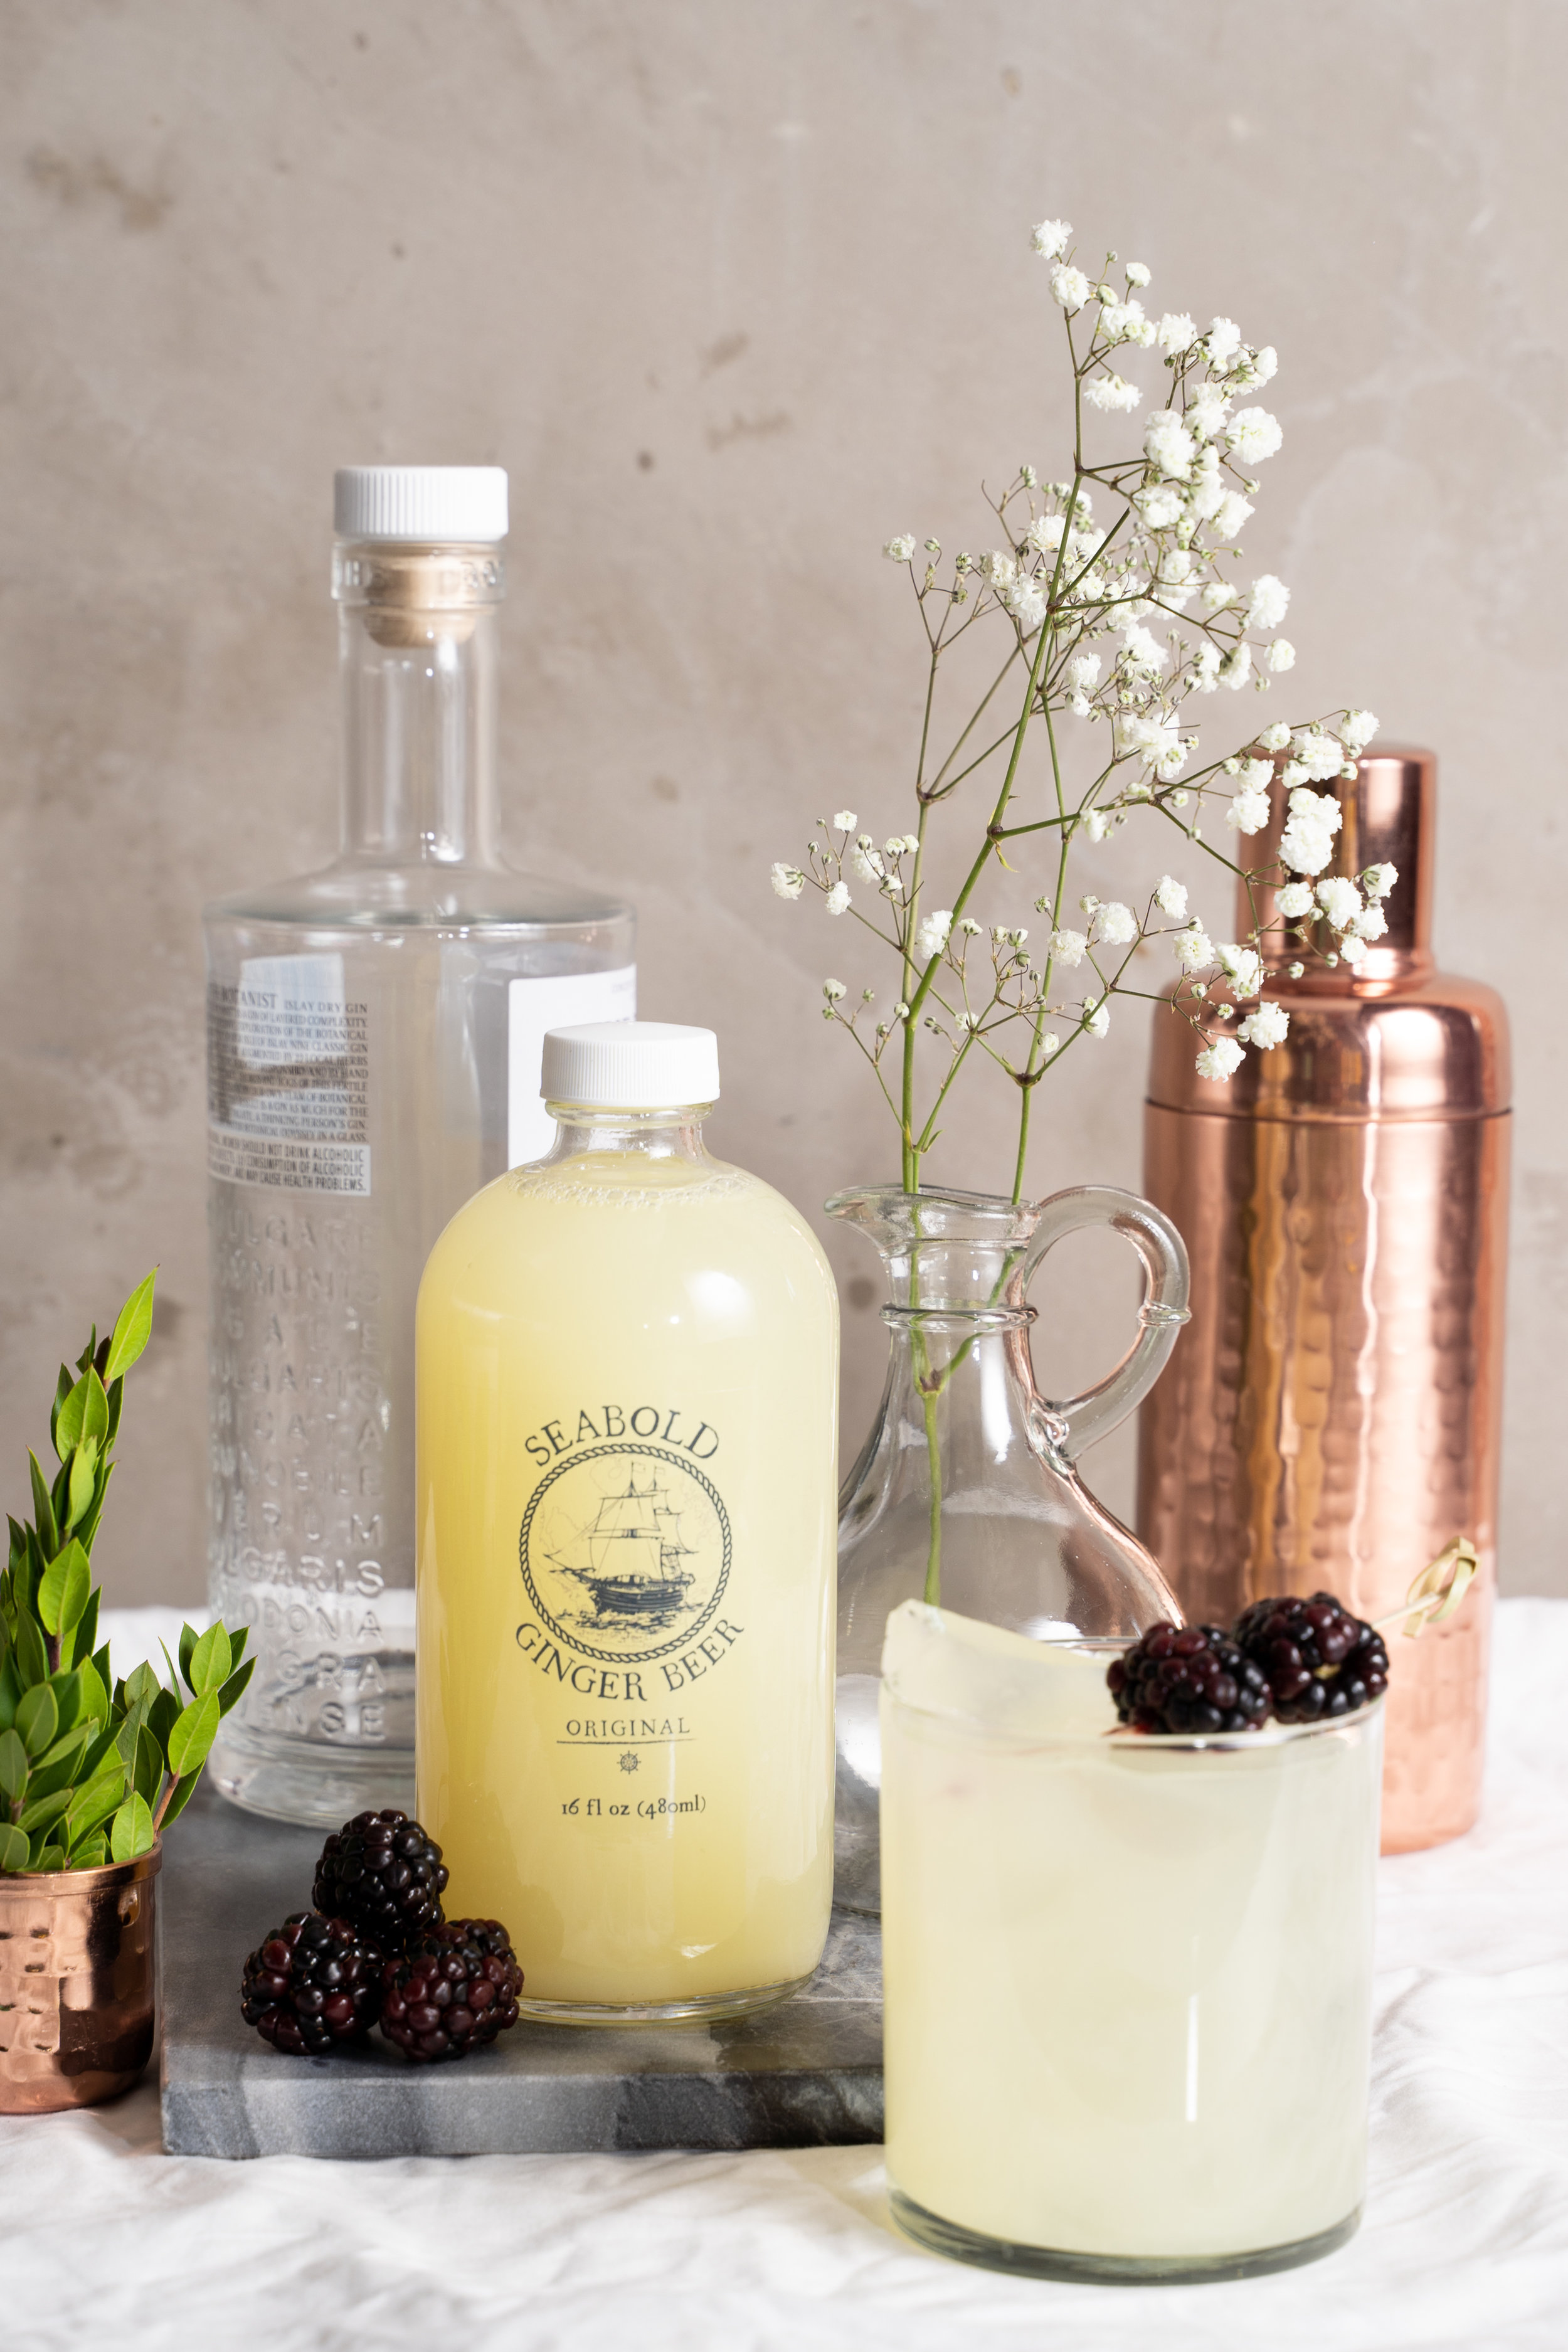
Give your models something to do. This will allow them to move with purpose and tell a story. For our shoot, we had the model play around with the sheet we placed on light stands. This added a flirty vibe to the photos, like a perfume ad. Likewise, when shooting outside we had the model interact with the plant and flowers around her as a prop. We found a stump that was perfect for the model to sit on and pose. I’ve seen photographers take awesome photos using shopping carts, food, sunglasses, etc.
If you’re working with an amateur model using props will make them get comfortable. Look for stairwells, plants, rails and places the model can lean against or touch work great.
Watch the Video Photography Tips for Better Backgrounds:
Thanks for Reading!
LIVE ART LOVE TEAM
P.S. If you’re interested to see what equipment we shoot with head to our Gear page.